
Workflow Tip // Cull Faster with Photo Mechanic: Photo Mechanic + Lightroom Workflow
For high volume photographers, culling photos can be one of the more time consuming tasks during the editing process. Lightroom, while it's an powerful RAW processor and library management program, its speed and efficiency leaves a bit to be desired.
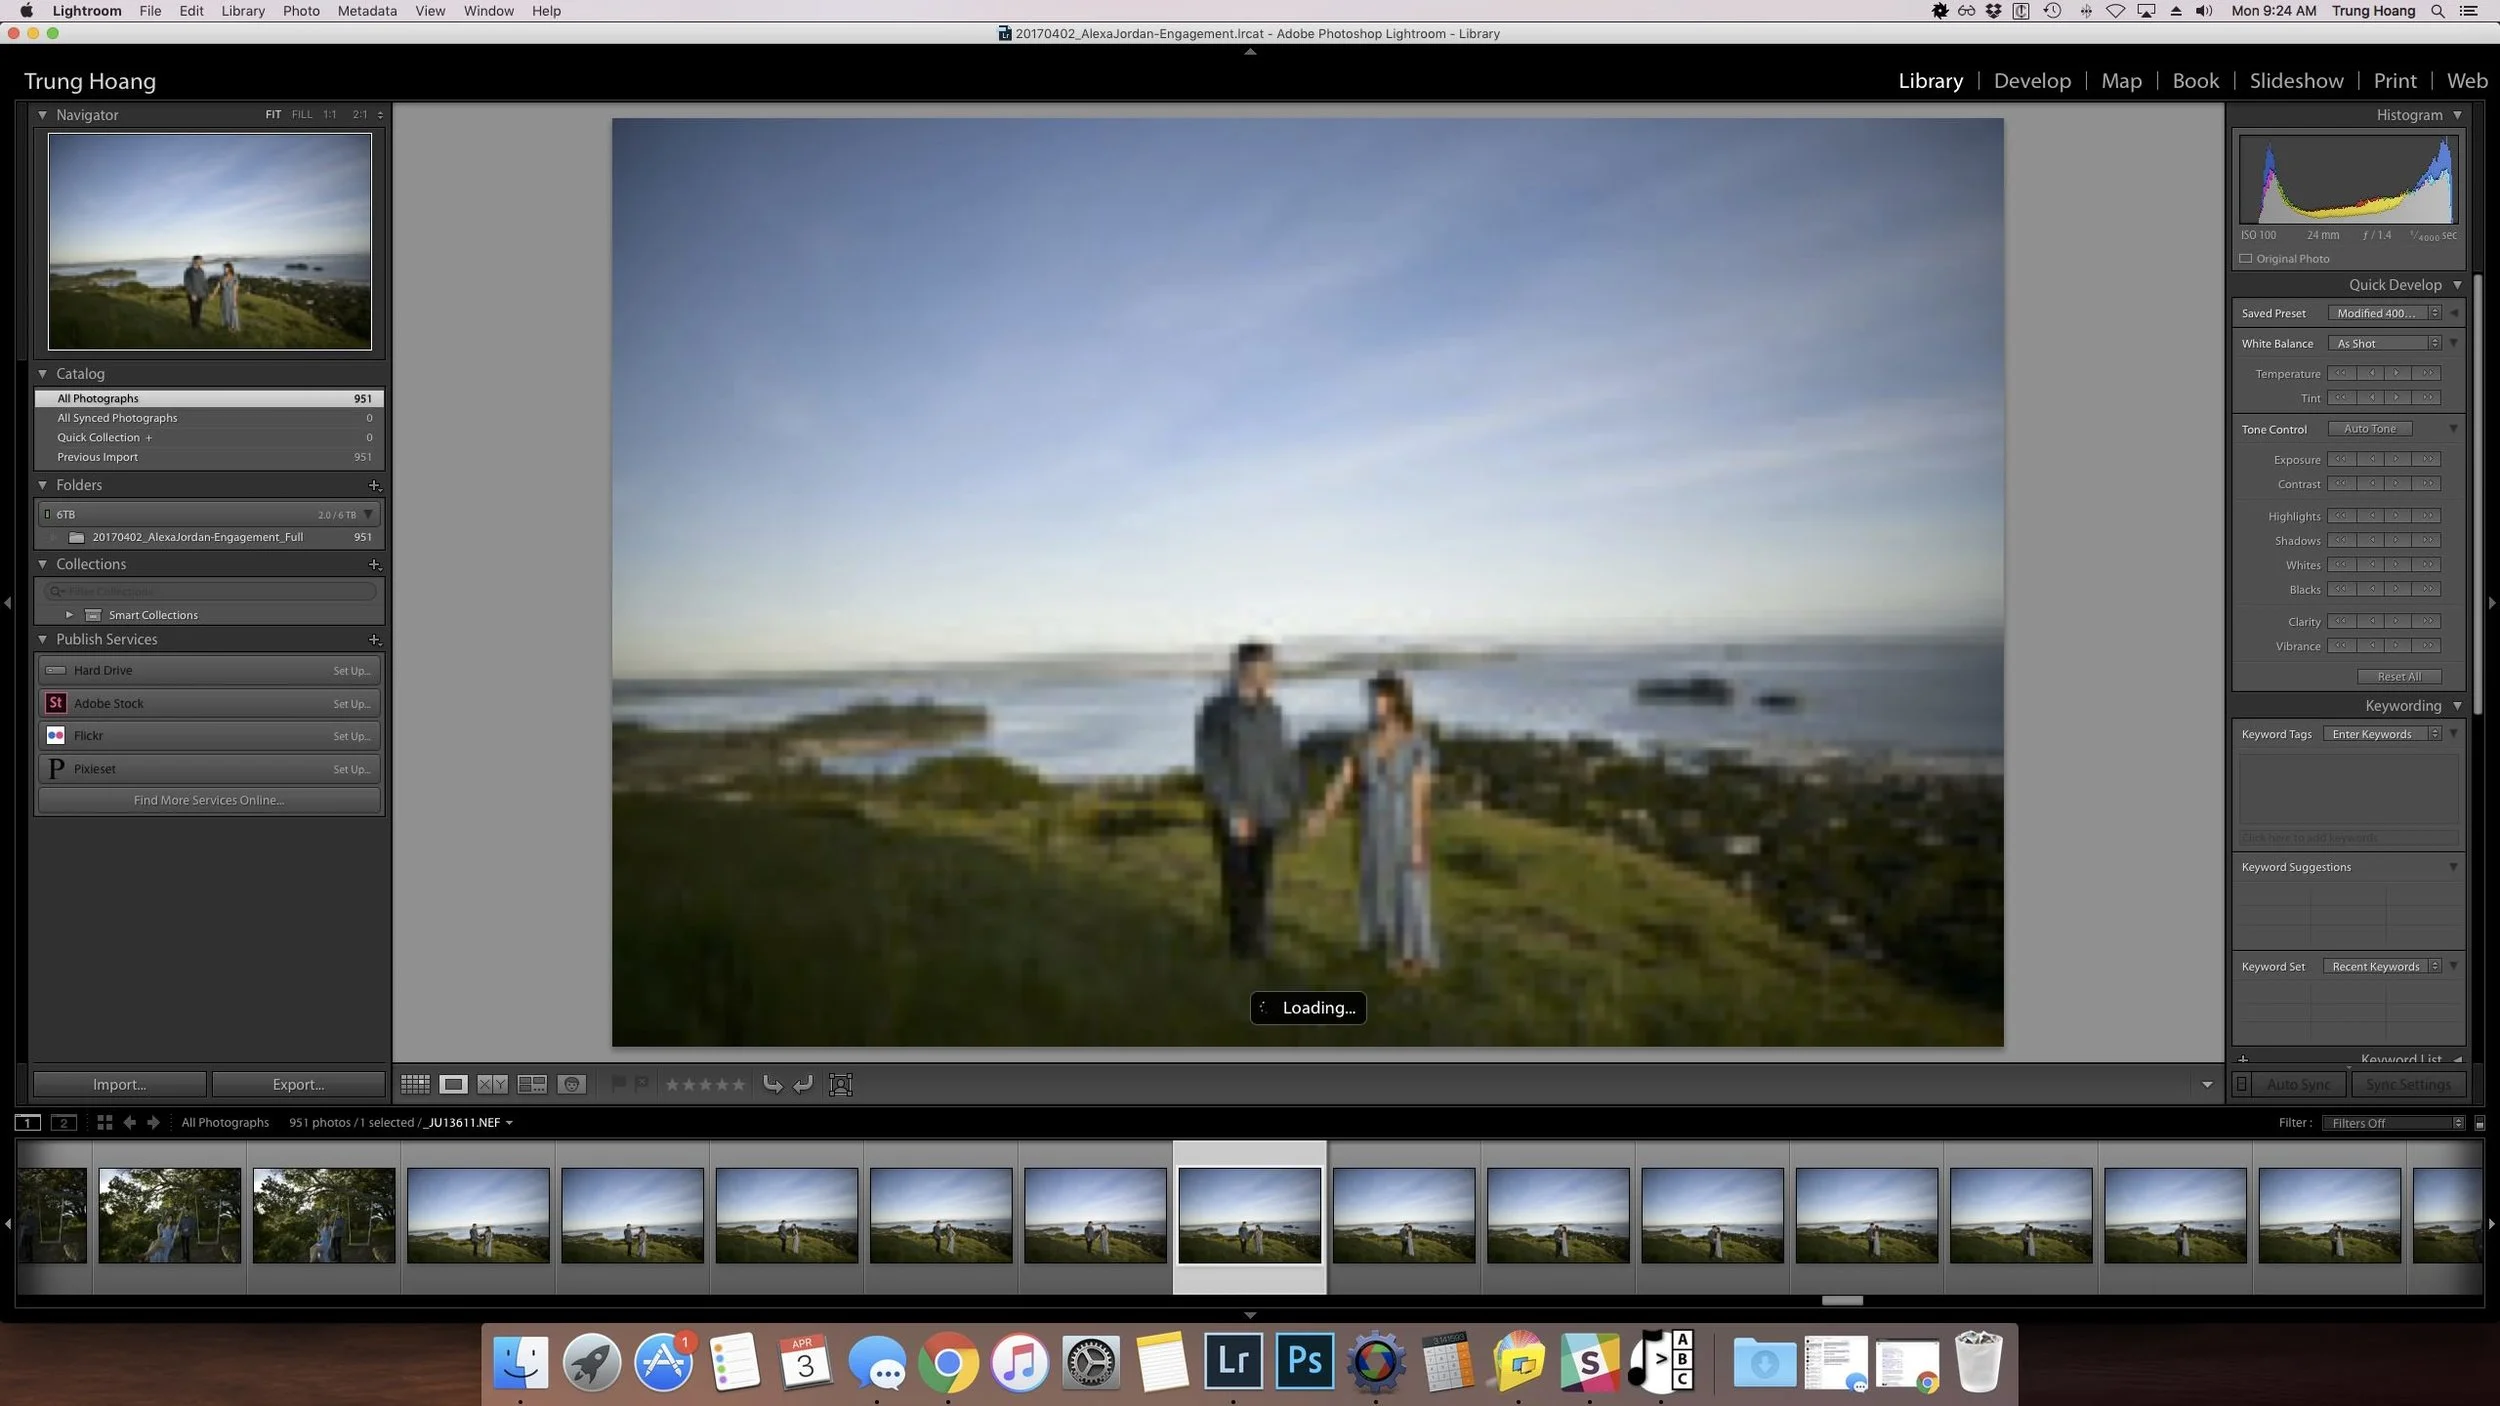
Does this (unfortunately) look familiar?
Flipping through and culling 3000 images to the delivered set can take forever as you wait 3-5 seconds for the preview to load. While 3-5 seconds doesn't sound like much, that's an additional 150-250 minutes just to go through all of the images! When you're simply culling for sharpness and content, speed is crucial.
One of the best ways to speed up that process is by using Photo Mechanic (or another RAW viewer such as FastRawViewer). Photo Mechanic allows you to quickly breeze through your RAW images, utilizing the embedded JPEG previews to render full-sized previews instantaneously.
Skimming through about 30 images in 8 seconds with zero lag.
As you can see in the quick video above, Photo Mechanic is fast. The source images in that example are on a RAID-1 external hard drive, so I don't even have the benefit of the super fast random reads of an SSD. You'll throw your computer out the window waiting for previews to load in Lightroom (and don't get me started on waiting for the 1:1 preview to load in case you want to zoom in).
The one downside is you're unable to view your images with any exposure adjustments or edits applied. This can be a little problematic when trying to inspect detail on intentionally underexposed images, but for me that's usually a relatively small number of images.
Setting up Photo Mechanic
In order to get the most out of Photo Mechanic, you have to optimize it for speed through a few settings.
Bear in mind this guide will be done in MacOS. If you’re a Windows user, the settings should be similar and the locations of things should be relatively similar, but may not be exact.
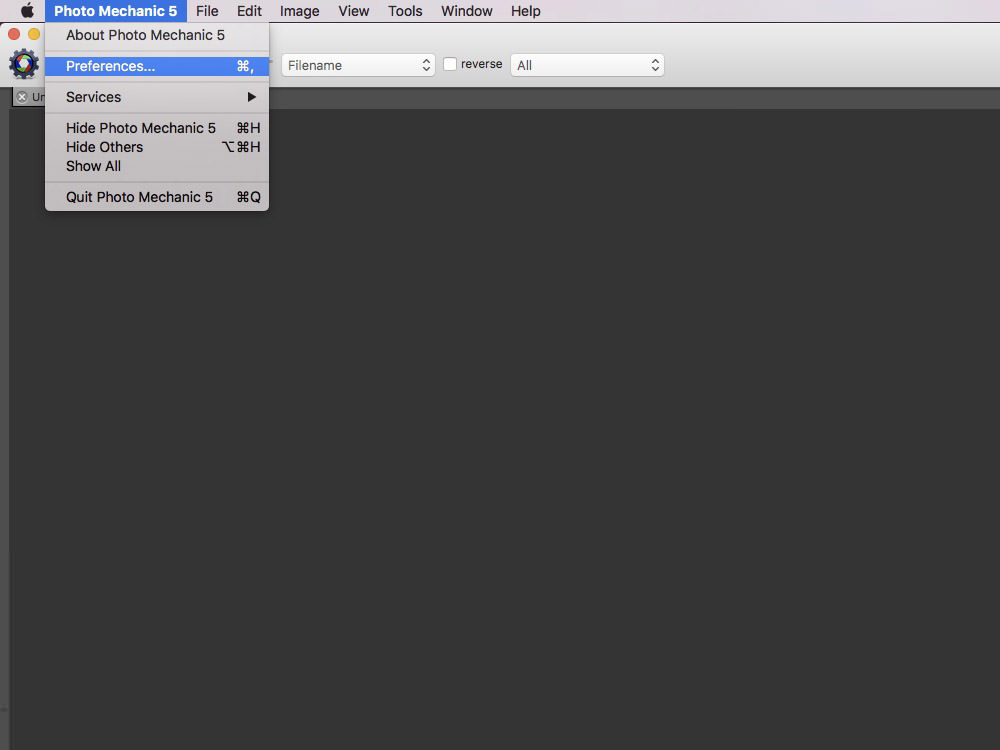
Once installed and opened, head into your ‘Preferences’
The first thing you want to decide is whether you’d like to work with Labels or Stars in Lightroom. Once you're in ‘Preferences’, head to Accessibility. On the right hand side, you’ll see ‘Single Key Shortcuts’. From here you can select whether you’d like your number system to change it’s ‘Color Class’ (which LR will interpret as Labels) or ‘Rating’ (which LR interprets as Stars).

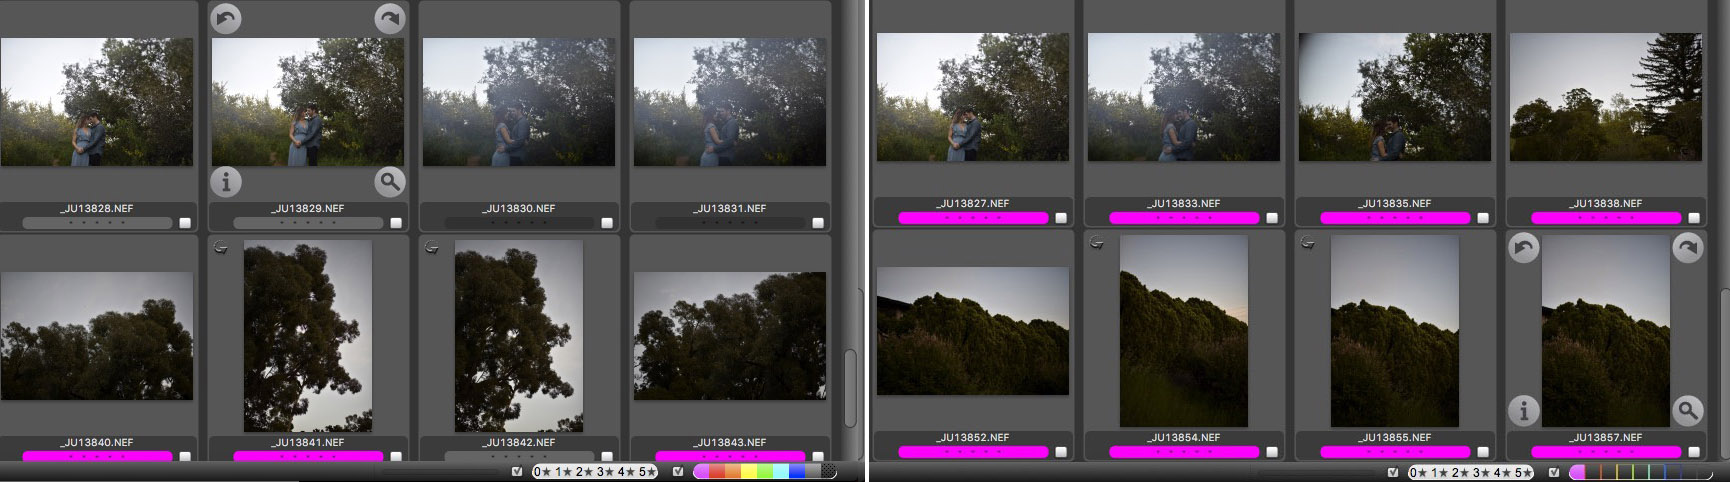
Labels allows for a bit more flexibility, since you’re able to assign names to each of the labels. If your goal is yay or nay, this doesn’t make a huge difference. If you’d like to use the labels and rename them, head to General in the drop-down menu and you’ll be able to change the color and label name associated with numbers 1-8 (color classes as they're called in PM). 0 is always registered as ‘unlabeled’. I personally kept the default colors and just renamed a handful of the labels for my needs.

Next head to Contact Sheet in the drop-down menu. Make sure the boxes next to Generate high quality thumbnails is checked and High DPI Display Quality: is set to ‘Standard (fastest)’

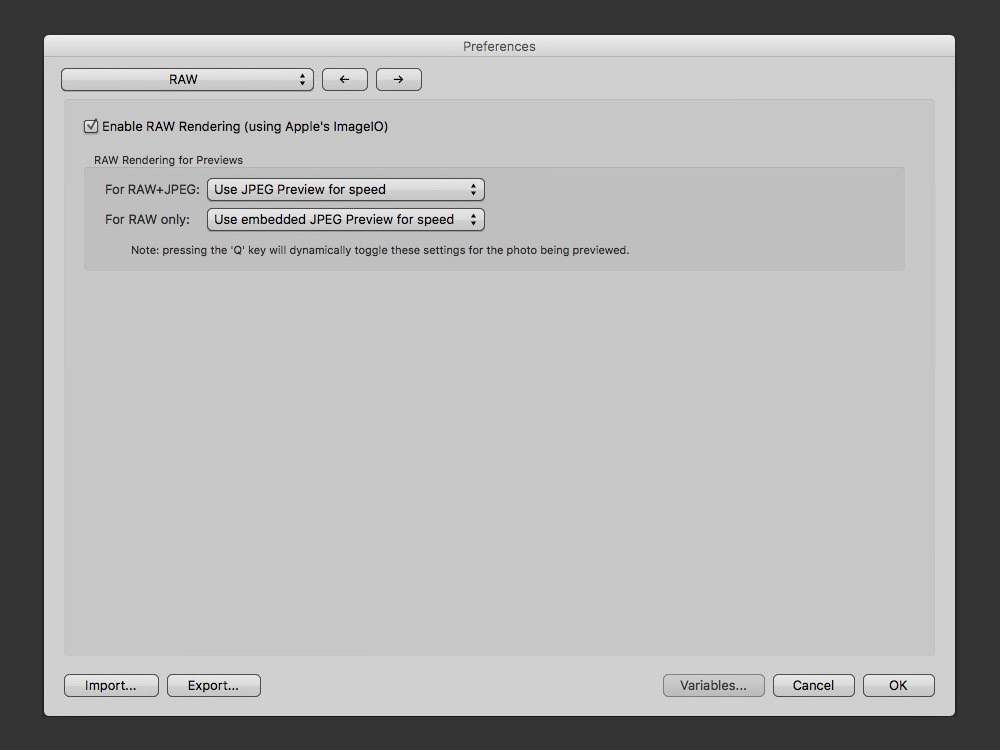
In the RAW menu, ensure Enable RAW Rendering is checked and For RAW only: is set to ‘Use embedded JPEG Preview for speed’.
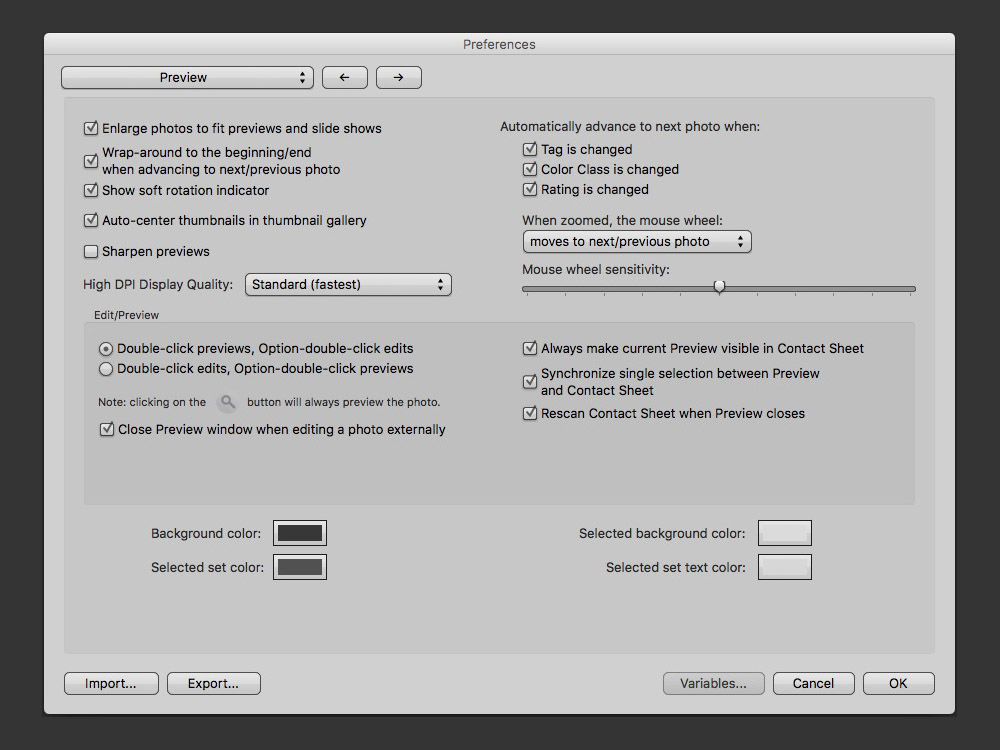
In the Preview menu, under Automatically advance to next photo when: check the boxes next to Tag is changed, Color Class is changed, and Rating is changed. Enabling this tells Photo Mechanic to go to the next photo once you’ve marked it with a color or rating, rather than requiring you to advance images manually after each tagging. High DPI Display Quality should already be set to Standard (fastest) from a previous menu.
In the Caching menu, adjust the Disk Cache and Memory Cache size as necessary. The more the better for both. I use 1024 for both the Disk Cache and Memory Cache, but I had my Memory Cache set to 512 for a while and didn’t notice much of a performance difference between the two.

Using Photo Mechanic
If you're used to importing your images into lightroom and walking away (or going to bed) as it builds previews, smart previews (see how I utilize Smart Previews to speed up my workflow and edit on multiple computers), no worries, you can still cull with Photo Mechanic! Just click here or scroll down to Culling in Photo Mechanic After Importing into Lightroom
Culling in Photo Mechanic Before Importing
If you’re planning on working with images as soon as possible, this is the way to go. In addition to speeding up the culling process, it saves additional time by reducing the number of images imported (and thus the number of previews needing to be rendered), though this may be moot if you typically import and walk away.
The process is simple, simply drag the folder containing all your images into the PM contact sheet window and you'll see all the thumbnails pop up and you're ready to go. Just double click an image and start rating using the number keys we had setup in the above instructions (as seen in the video above).
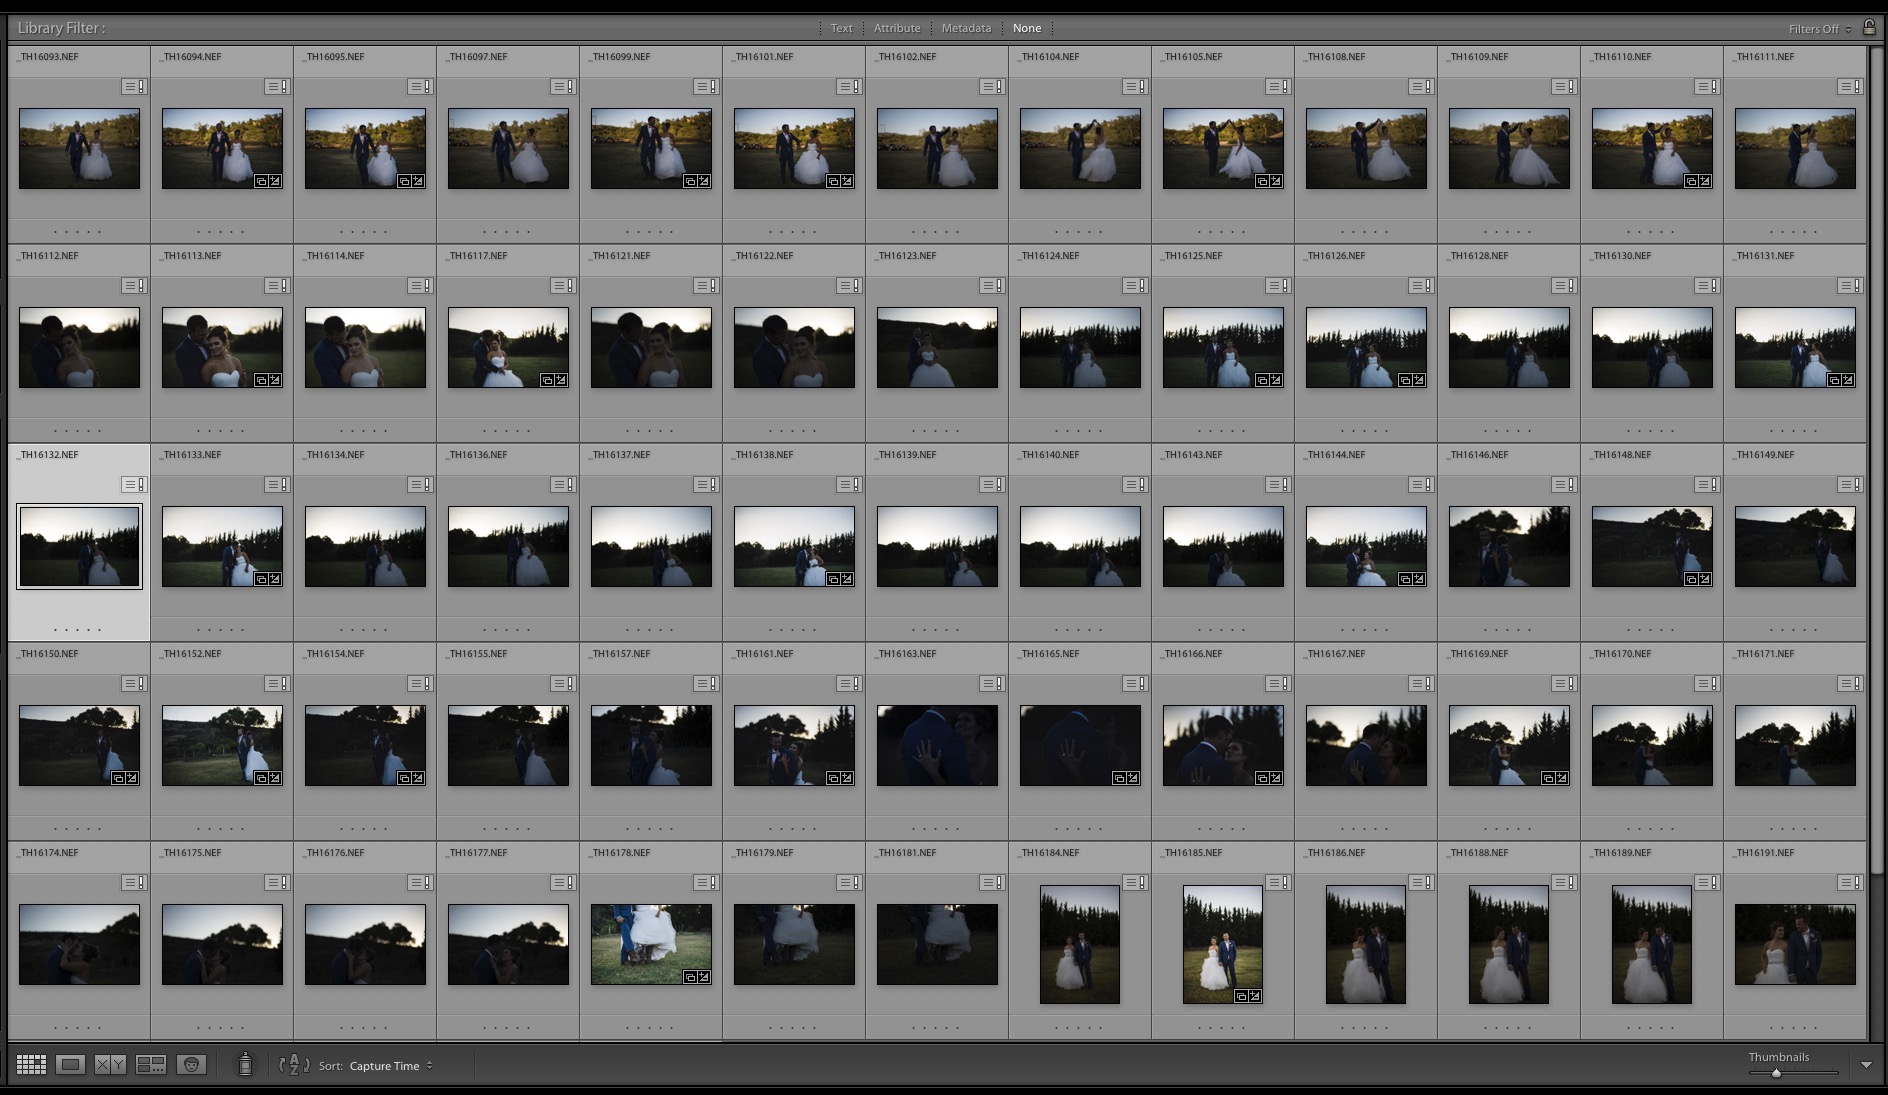
Once you're done culling, you'll need to sort out the good from the bad. To do that, return to the gridded contact sheet window and use the filters on the bottom right hand side to hide the rejected images from view.
Images in Photo Mechanic unfiltered and filtered
After filtering, only the files you want to import should be visible. From here, simply select all of them in PM and drag them onto the Lightroom application icon in your dock. LR will automatically go into the import dialog and only check the boxes of the images you had selected in PM.
Import then enjoy the reduced import time and move forward with your workflow as you typically would.
Culling in Photo Mechanic After Importing into Lightroom
If you'd prefer to import your photos into Lightroom to get all of the previews and smart previews generated while you're out or passed out, before you've done any culling, there's a solution for you as well!
(Disclaimer: This process will remove any edits, keywords, or metadata changes you've made, including the application of any presets)
Go ahead and import your files into LR as you typically would. Once that's done, close LR and open up Photo Mechanic. You'll go through the same process as culling before importing, find the source folder where your images are located and drag it into PM. Double click an image and start rating using the number keys we had setup above.
Once you're done rating, open up Lightroom again.
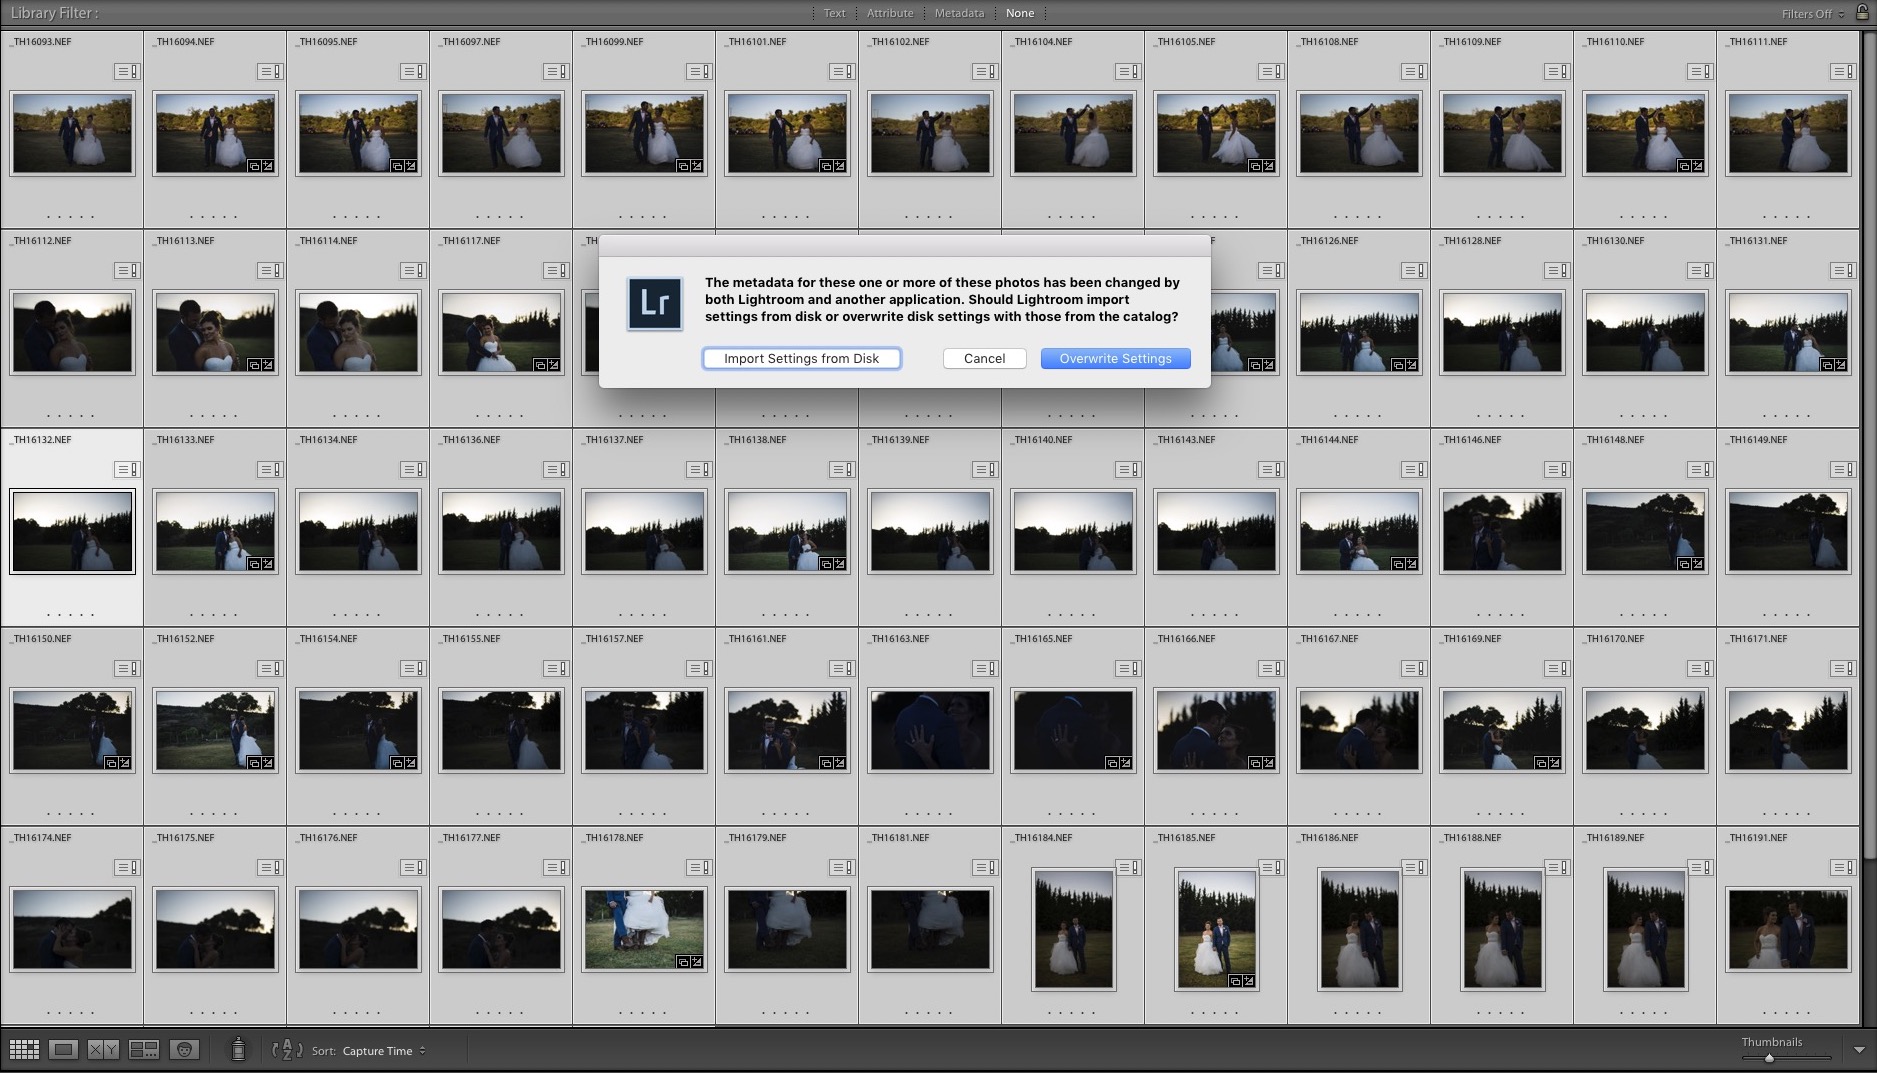
You'll see all of your images you've rated will have a box with an exclamation mark on the top right of the thumbnail, indicating the metadata of the file or sidecar XMP file differs from the metadata Lightroom has, which is just as it should be. Highlight all of the images and click the box with the exclamation point. A prompt will appear stating: "The metadata for these one or more of these photos has been changed by both Lightroom and another application. Should Lightroom import settings from disk or overwrite the disk settings with those from the catalog?" Press Import Settings from Disk. This process will take a minute, depending on how many images you're updating.
Once it's done loading the XMP data, you need to sort out the images using the labeling or star system. If you used stars, it should be self explanatory, simply filter based on your rating. If you used labels, as I do, click Metadata in the Library Filter: bar at the top. You'll see four dropdown menus appear. In any of the 4 (I chose the far right in this example) and set the filter label to Label.

Once you've done that, you'll see the labels you specified in PM earlier and simply click on the label you'd like to filter into (e.g. Click the label you've assigned for rejected photos and flag them as rejected or remove them from the catalog).
And that's it! I hope this helped you better incorporate Photo Mechanic into your workflow. If you have any questions or comments, drop them in the comment section below and I'd love to hear them and/or try to answer them!